
The past few weeks I have been collecting as many, cheap, old, not so cute, picture frames from garage sales and resale stores. My favorite resale store does 50% on the “color of the day” items. There’s 4 different color stickers throughout the store and if the “color of the day” sticker is on your item, you get half off! I went twice, once when the color was yellow and once when the color was green. In total, for over 10 frames I paid less than $25! Score!

Since most of the frames had built in pictures in them, they required a little more work to get just the frame.


Almost every frame had heavy duty staples holding the backing on to the frame. Thankfully, during our move, we acquired those handy pliers that made this job a little easier. Removing the staples was like hell quite the challenge, but once completed, it was smooth sailing from there.
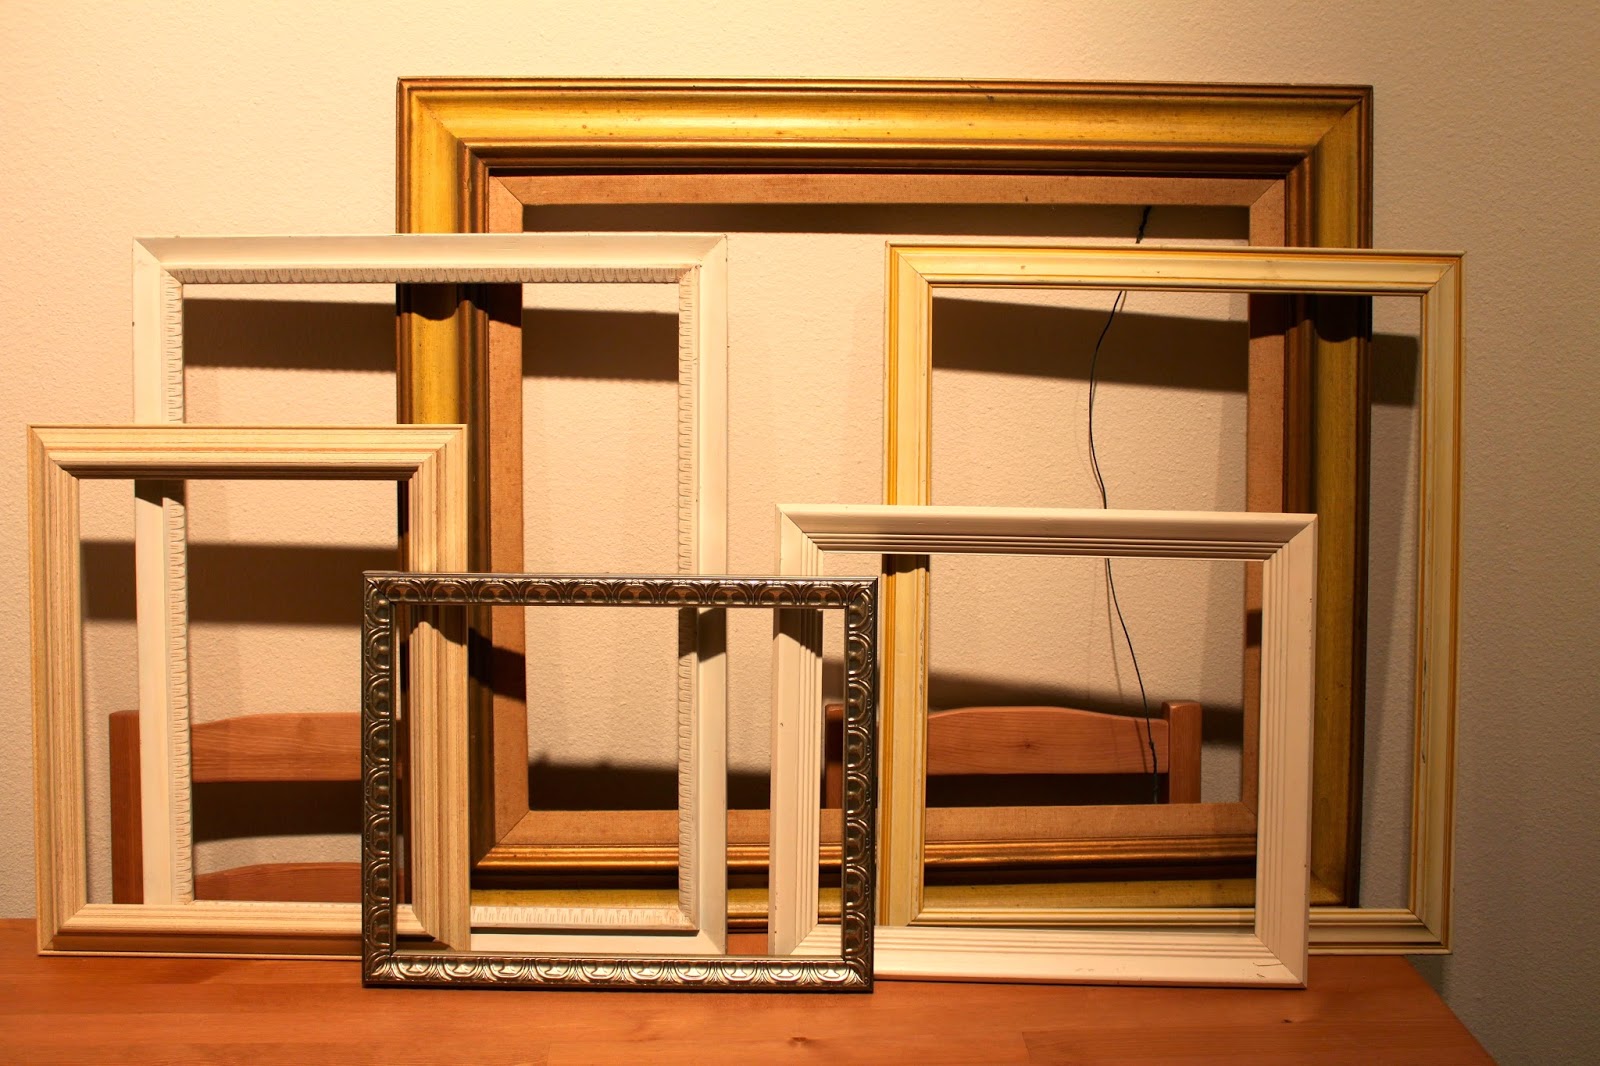
Here are all of the frames that required removing the backing and pulling away the evil little staples.

In addition to my frames, I picked this little gem up at a garage sale for $1!
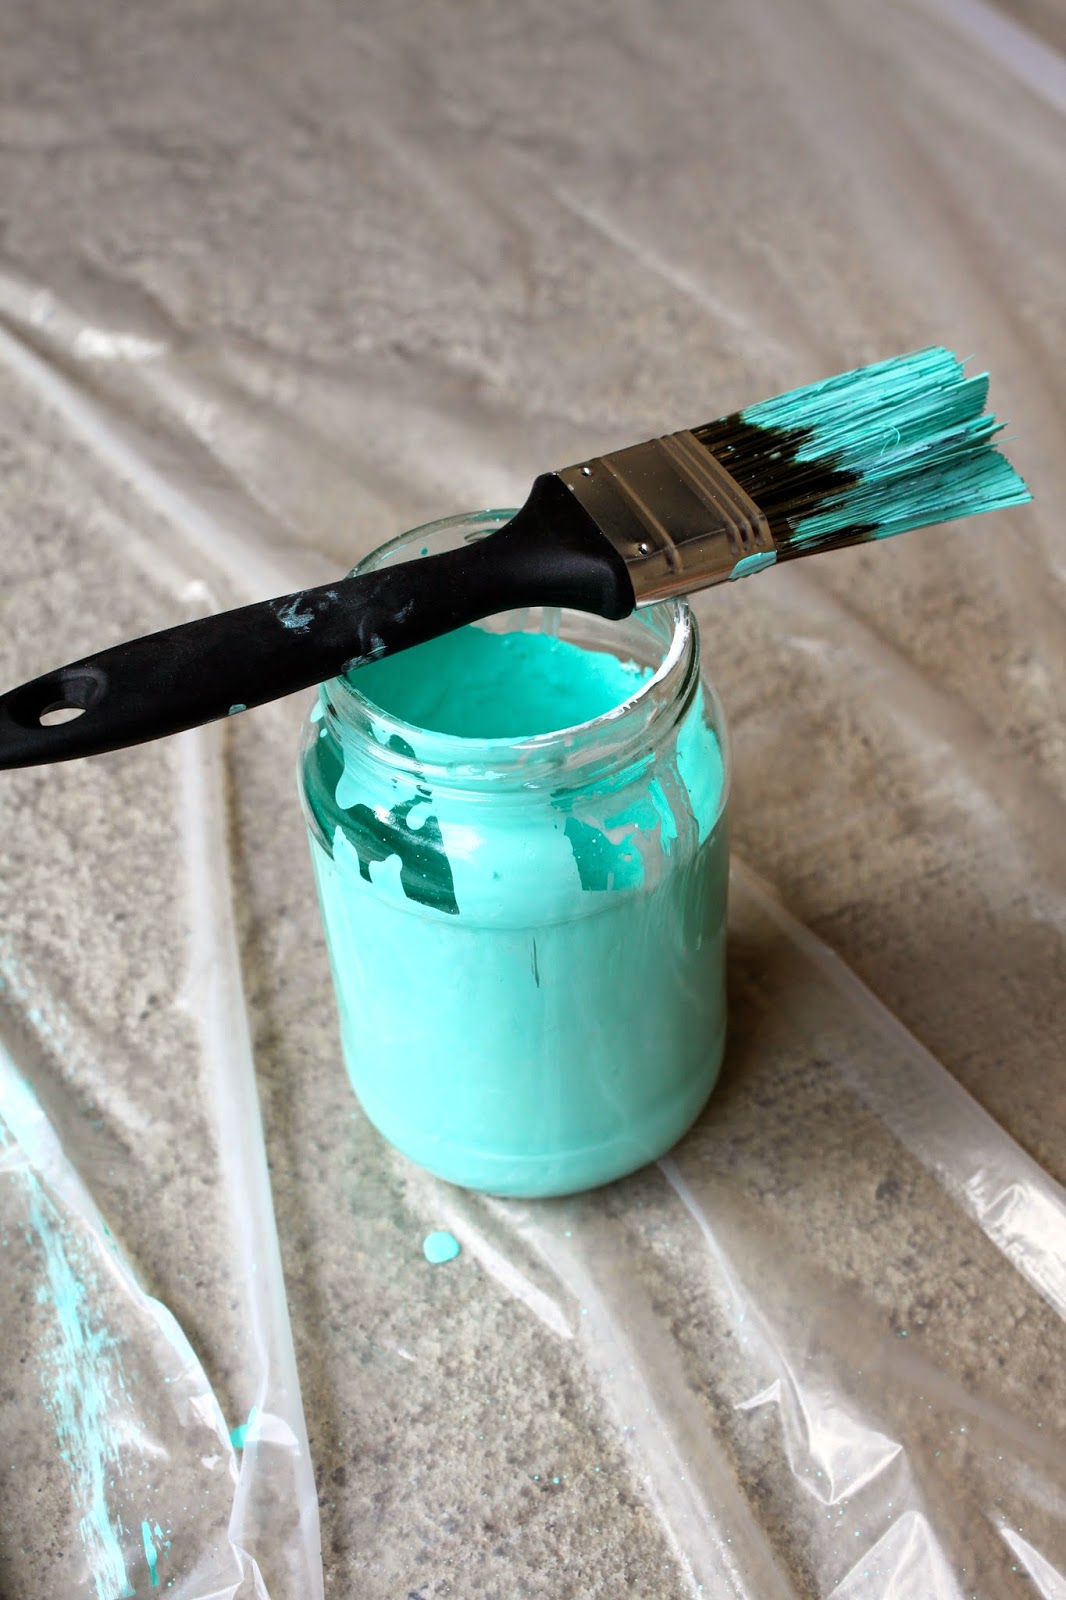
Next came the really fun part.
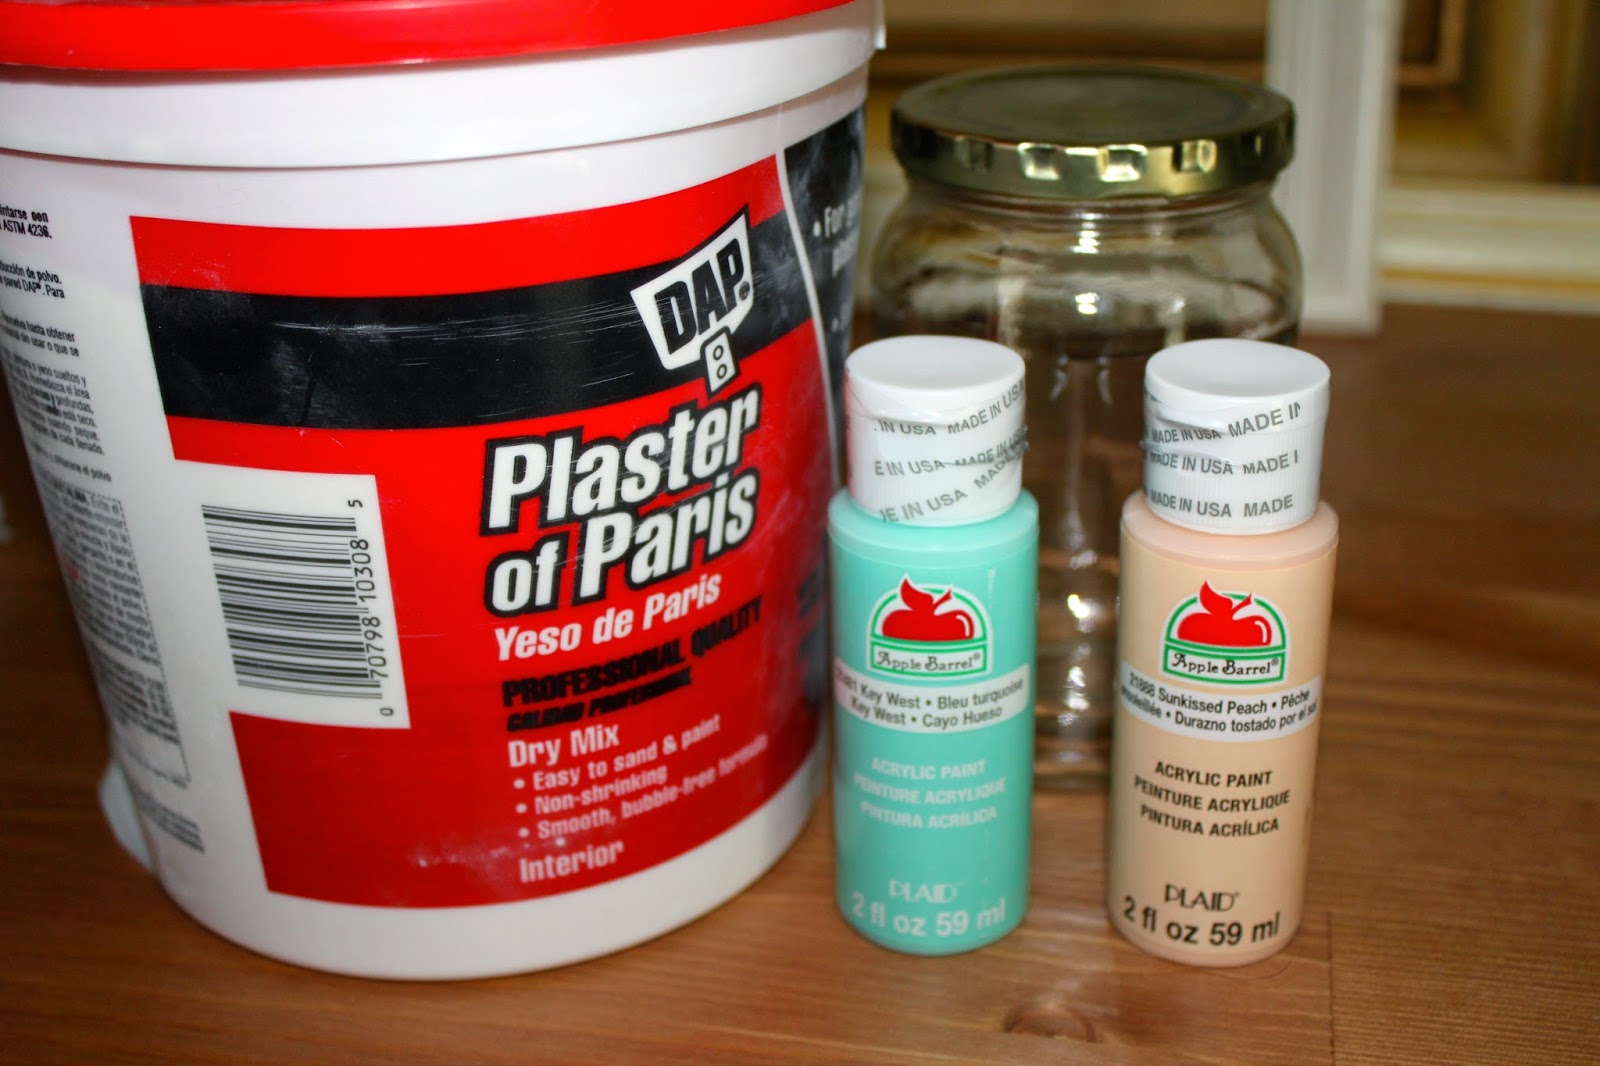
After doing some research, I found that Plaster of Paris was the best solvent when it comes to making chalk paint.
Chalk Paint Recipe:
1/4 cup of warm water
1/4 cup of Plaster of Paris
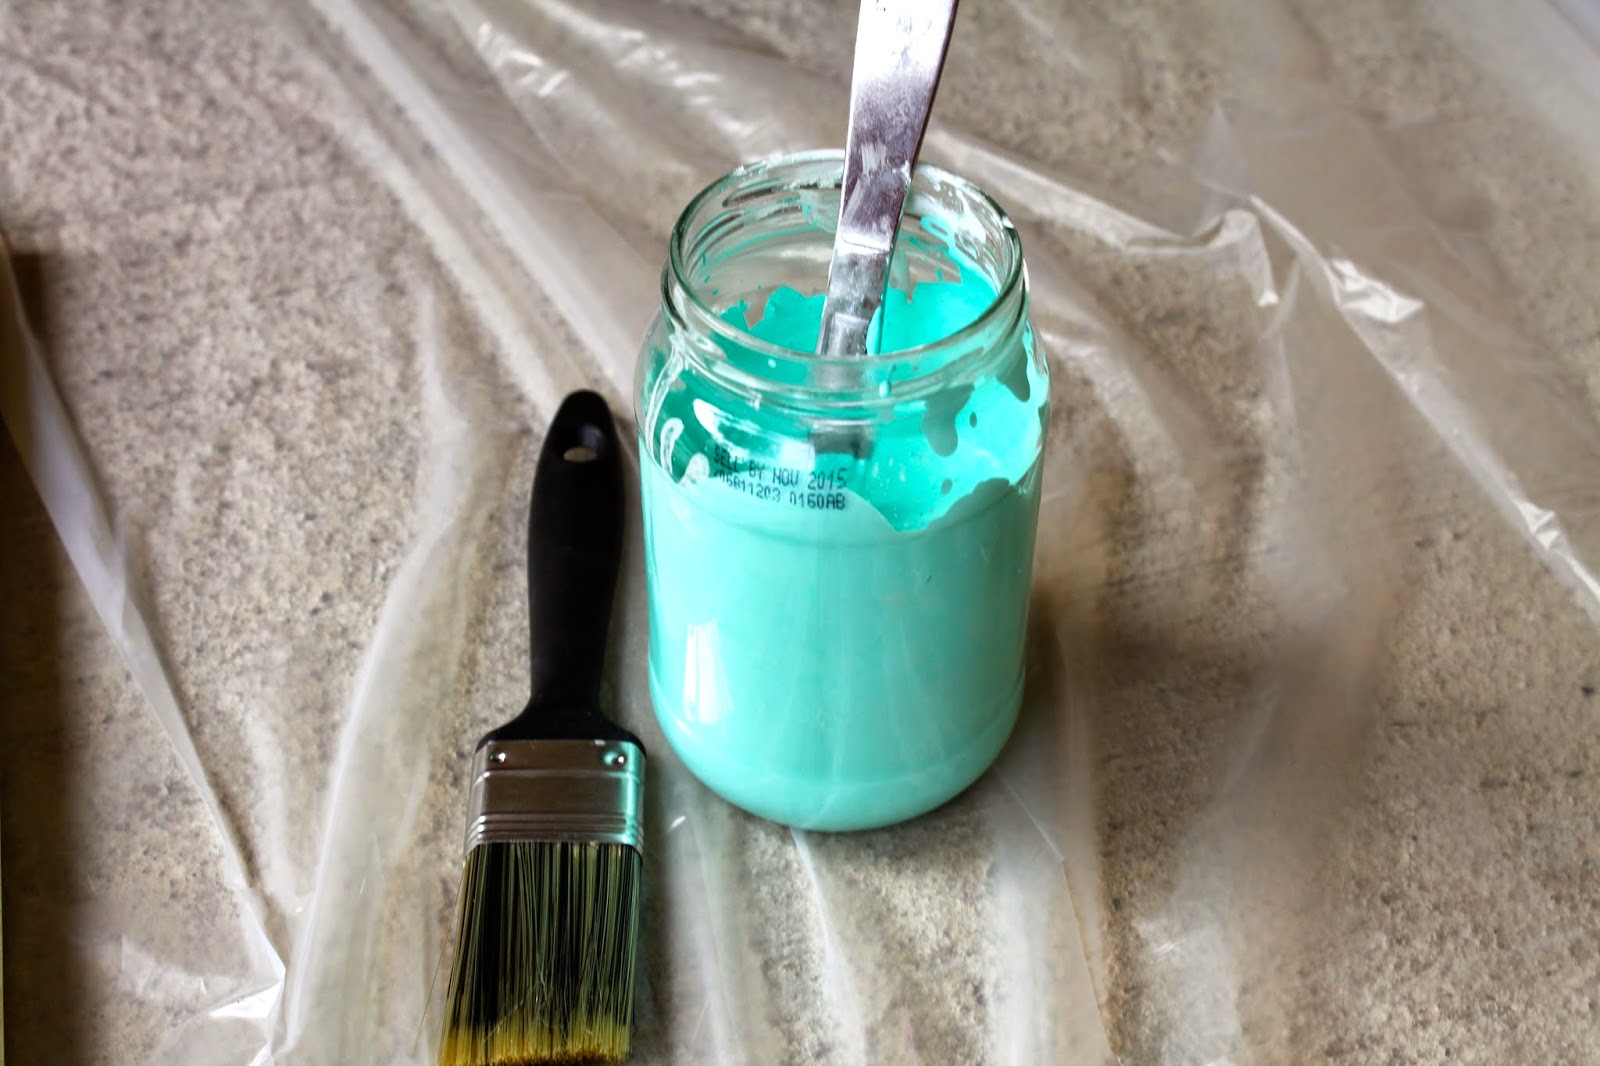
*Stir two ingredients together until PoP is completely dissolved*
3/4 cup of paint
*Add paint to PoP/Water mixture until smooth consistency*
Disclaimer: I was not happy with the consistency of this recipe. I added another 1/4 cup of Plaster of Paris, making it a total of 1/2 cup of Plaster of Paris, in the current mixture, which gave it much more of a chalk look and feel
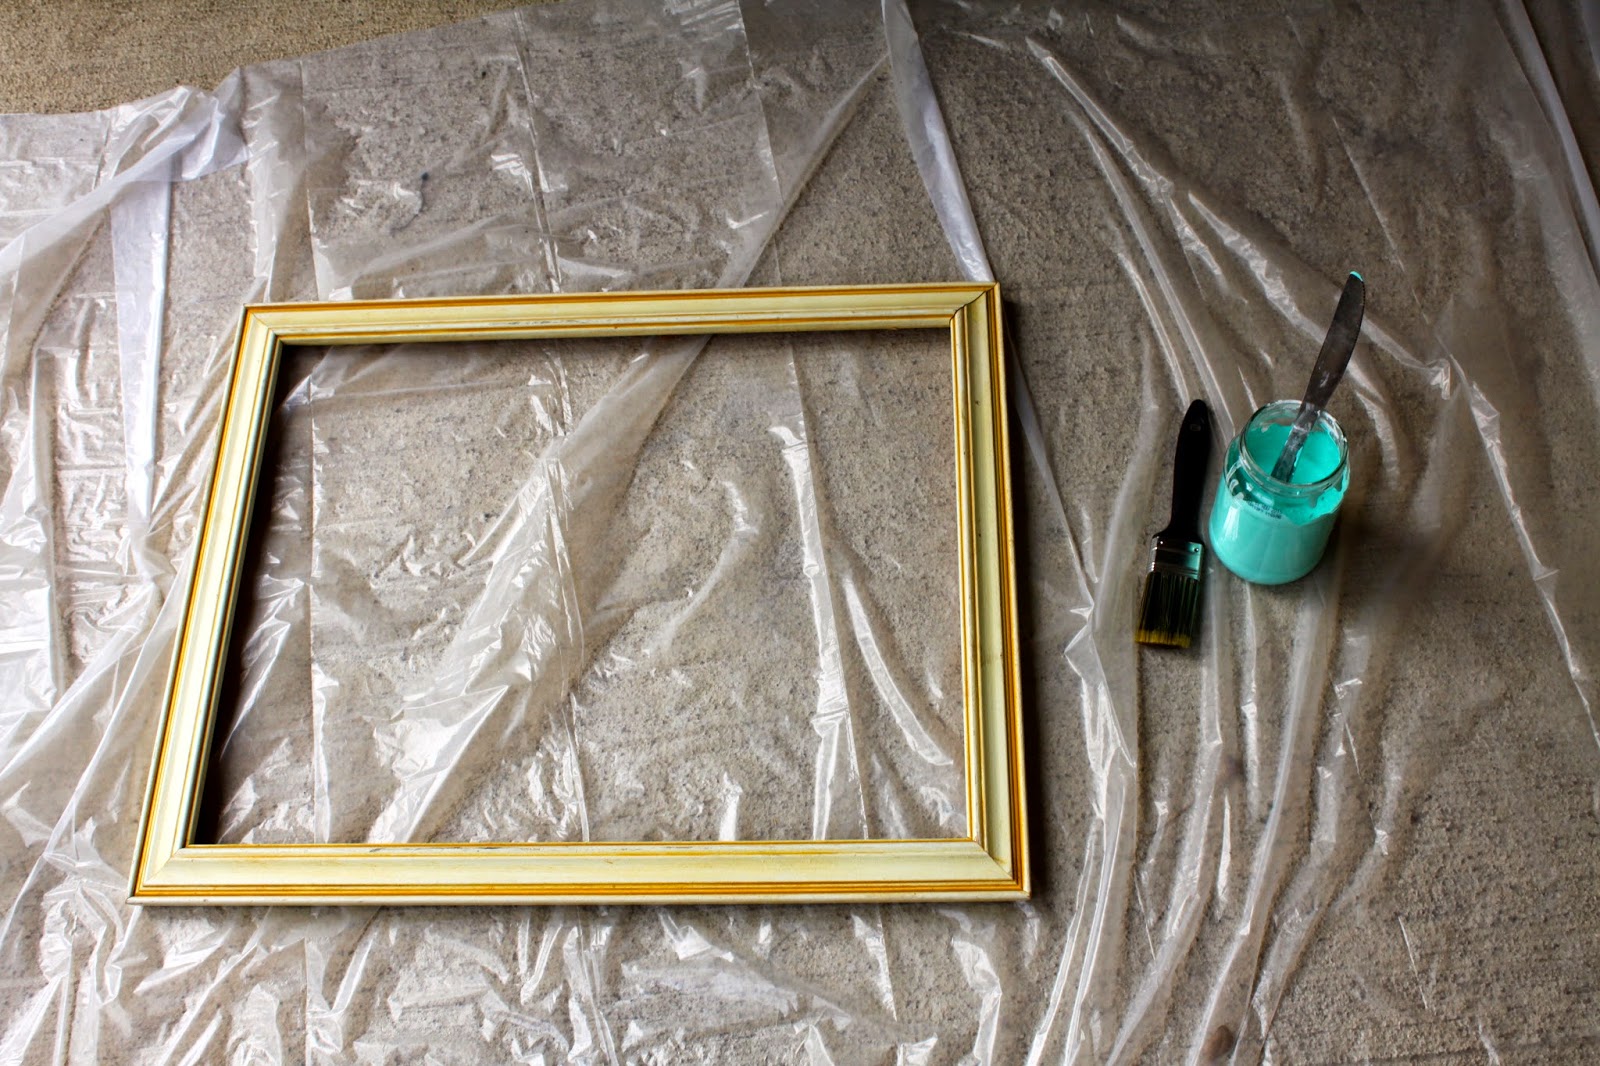

And now, my fun begins!
Chalk paint allows you to not have to sand, prime or even wax and stain if you don’t want to. This being my first real experiment with homemade chalk paint, I wasn’t sure if I wanted to continue one after painting with wax and staining, so I didn’t.
I made a Tiffany’s blue as well as a light tan color, which eventually turned to a coral because of my desire to always create my own colors.

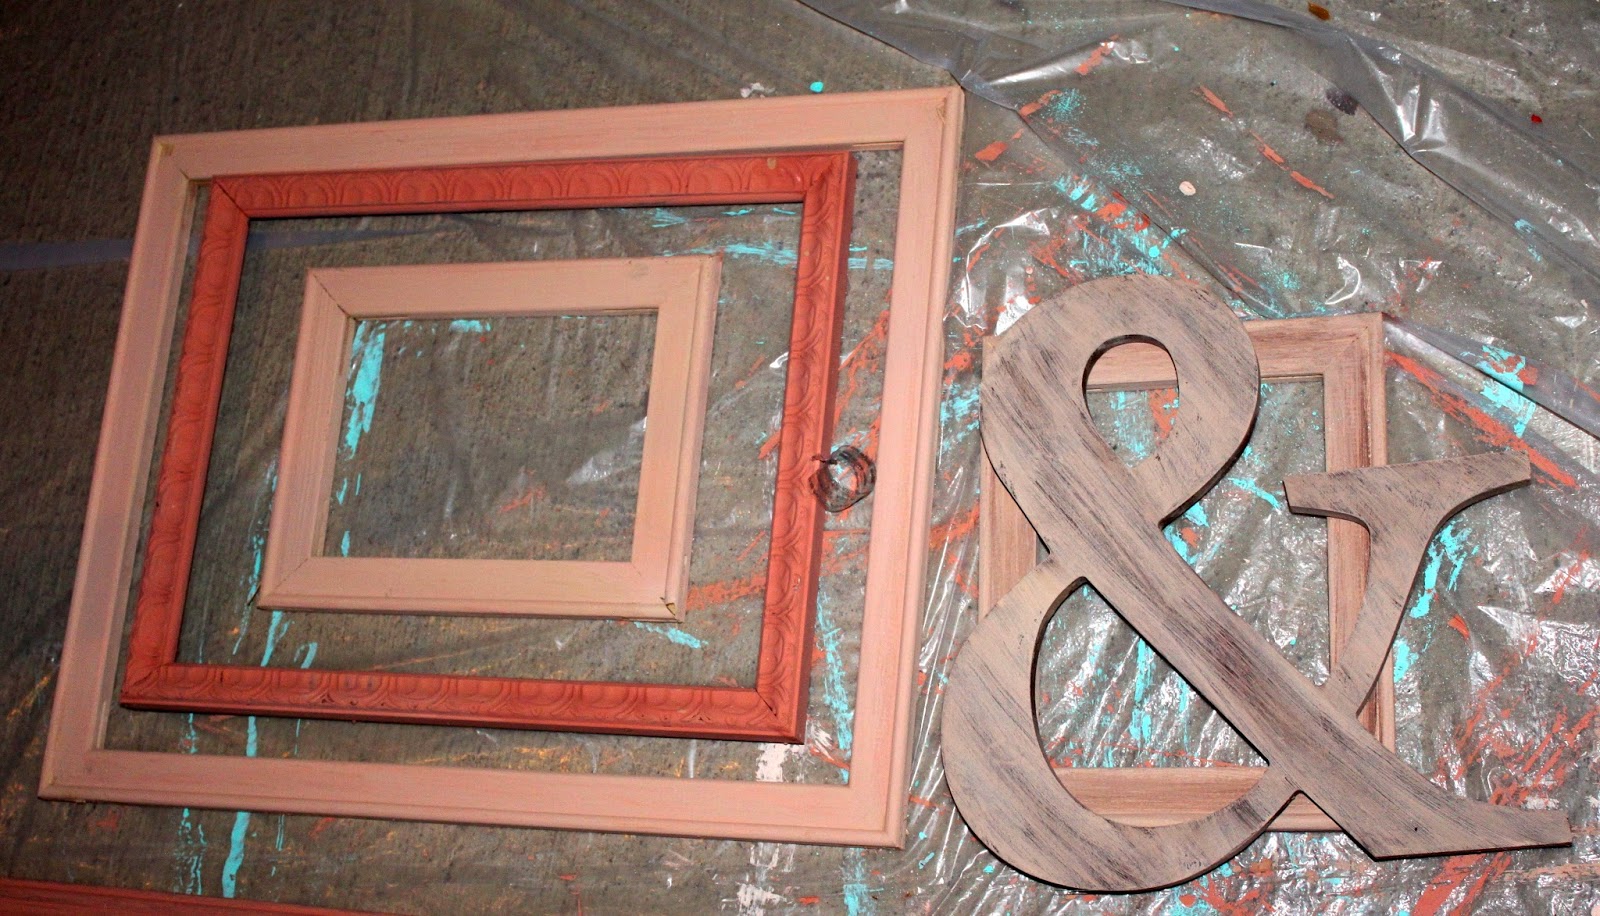

When it was all said and done, I ended up with about 7 different shades of coral/tan.
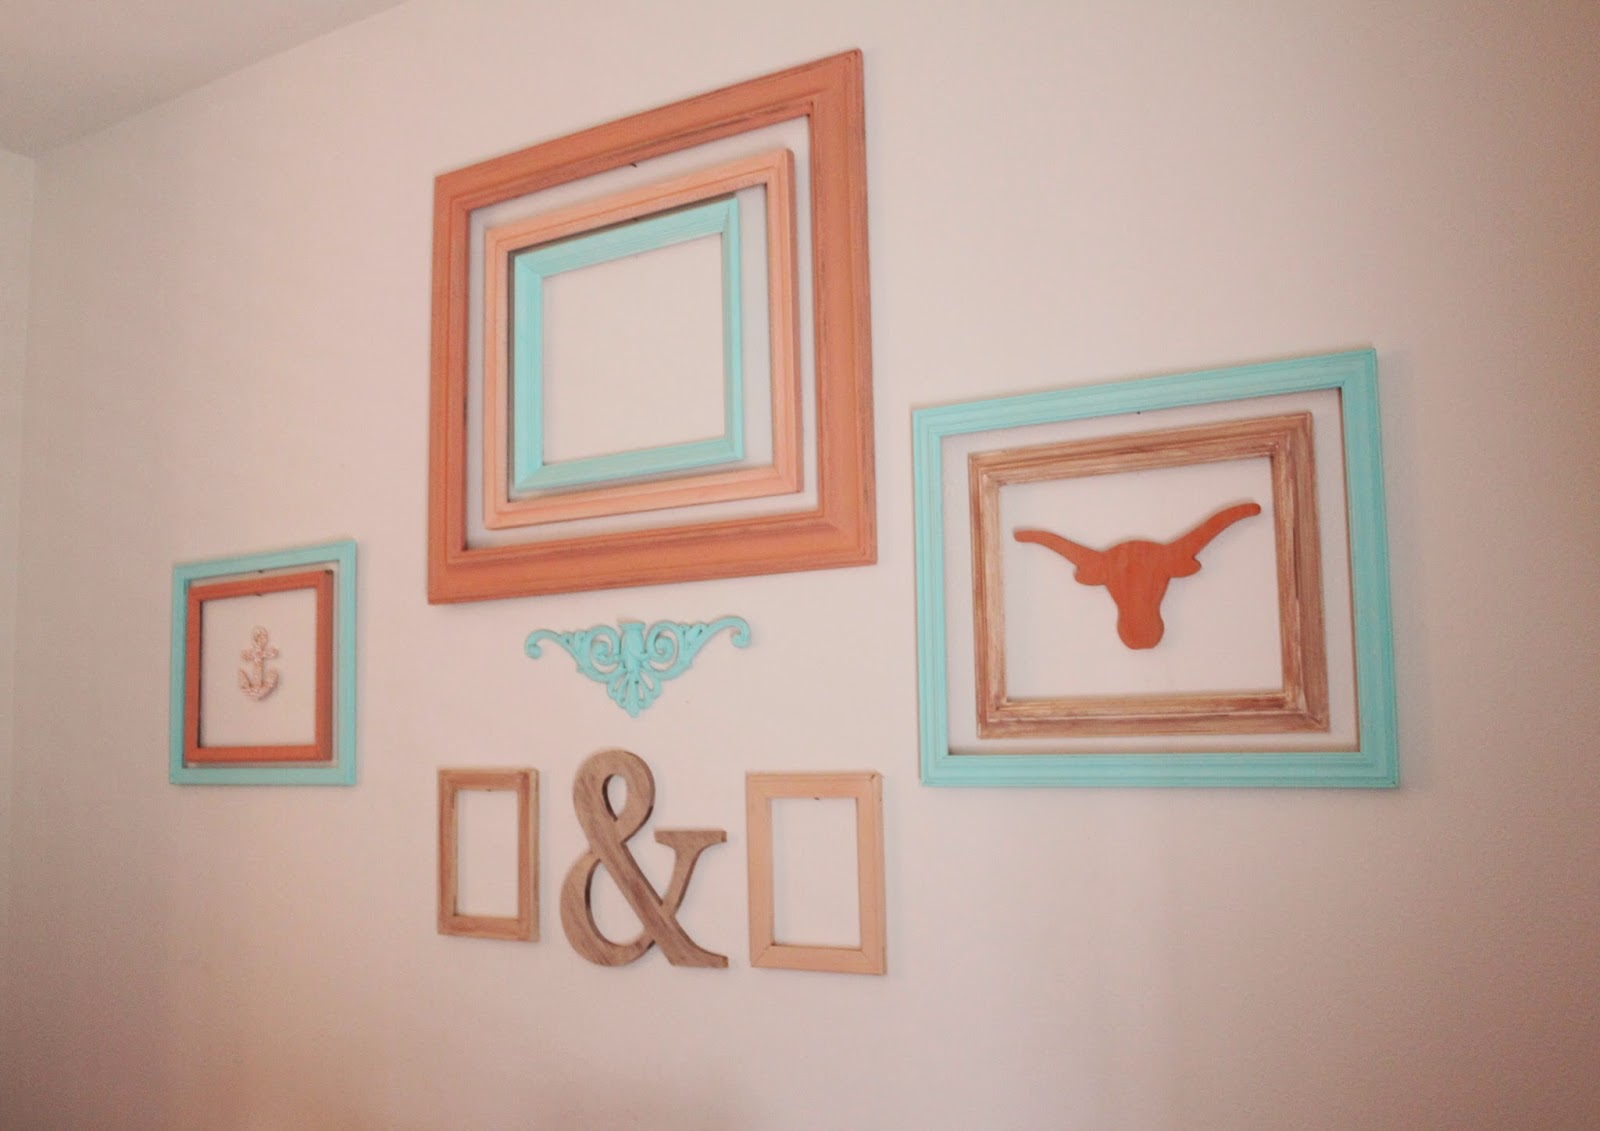
We ended up adding a few other accent pieces to the wall to better offset the colors, and are still trying to find two perfect letter “T”s to go in the small frames around the “&.” Overall, I couldn’t be more happy with how the frames came out, and how great they all look on the wall!
XoXo-Tiffani
4 comments
Spot on with this write-up, I truly feel this site needs far more attention. I’ll probably
be returning to see more, thanks for the advice!
Hi there to all, it’s truly a nice for me to pay a visit this website, it consists of precious Information.
Good way of telling, and good post to obtain information concerning
my presentation subject matter, which i am going to present in institution of higher education.
Thank you for the auspicious writeup. It in fact was a amusement account it.
Look advanced to more added agreeable from you!
By the way, how can we communicate?