
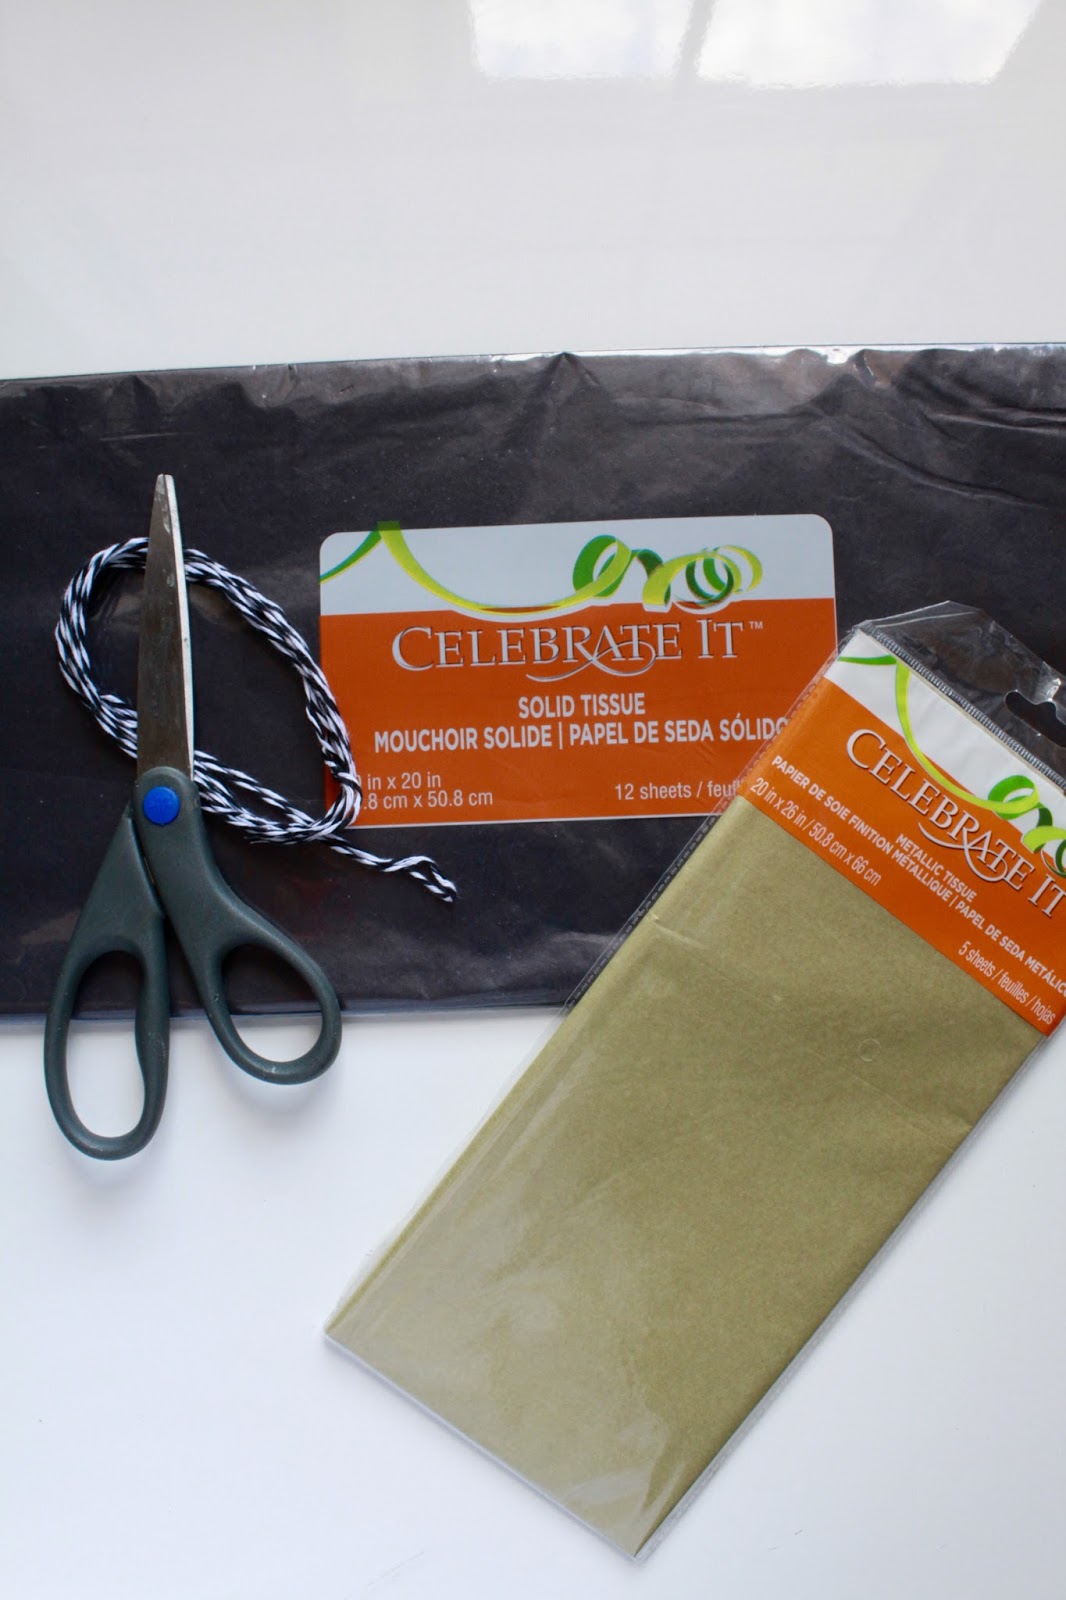
Supplies:
Various colors of tissue paper
Twine or rope
Scissors
Instructions:
Chose one color of tissue paper to start with, fold it in half “hamburger style” and then again “hotdog style.” You’ll then want to make cuts vertically up the tissue paper, but leaving about 1/4 inch margin before the crease. Pictured below

Once you have made all of the cuts, you will unfold your tissue paper. This can be tricky, so be gentle, after all, it is tissue paper.

Once you have your piece of tissue paper laid out, you will want to begin rolling the tissue paper very tightly along the crease. You should have a 1/2 inch crease to work with. Pictured below
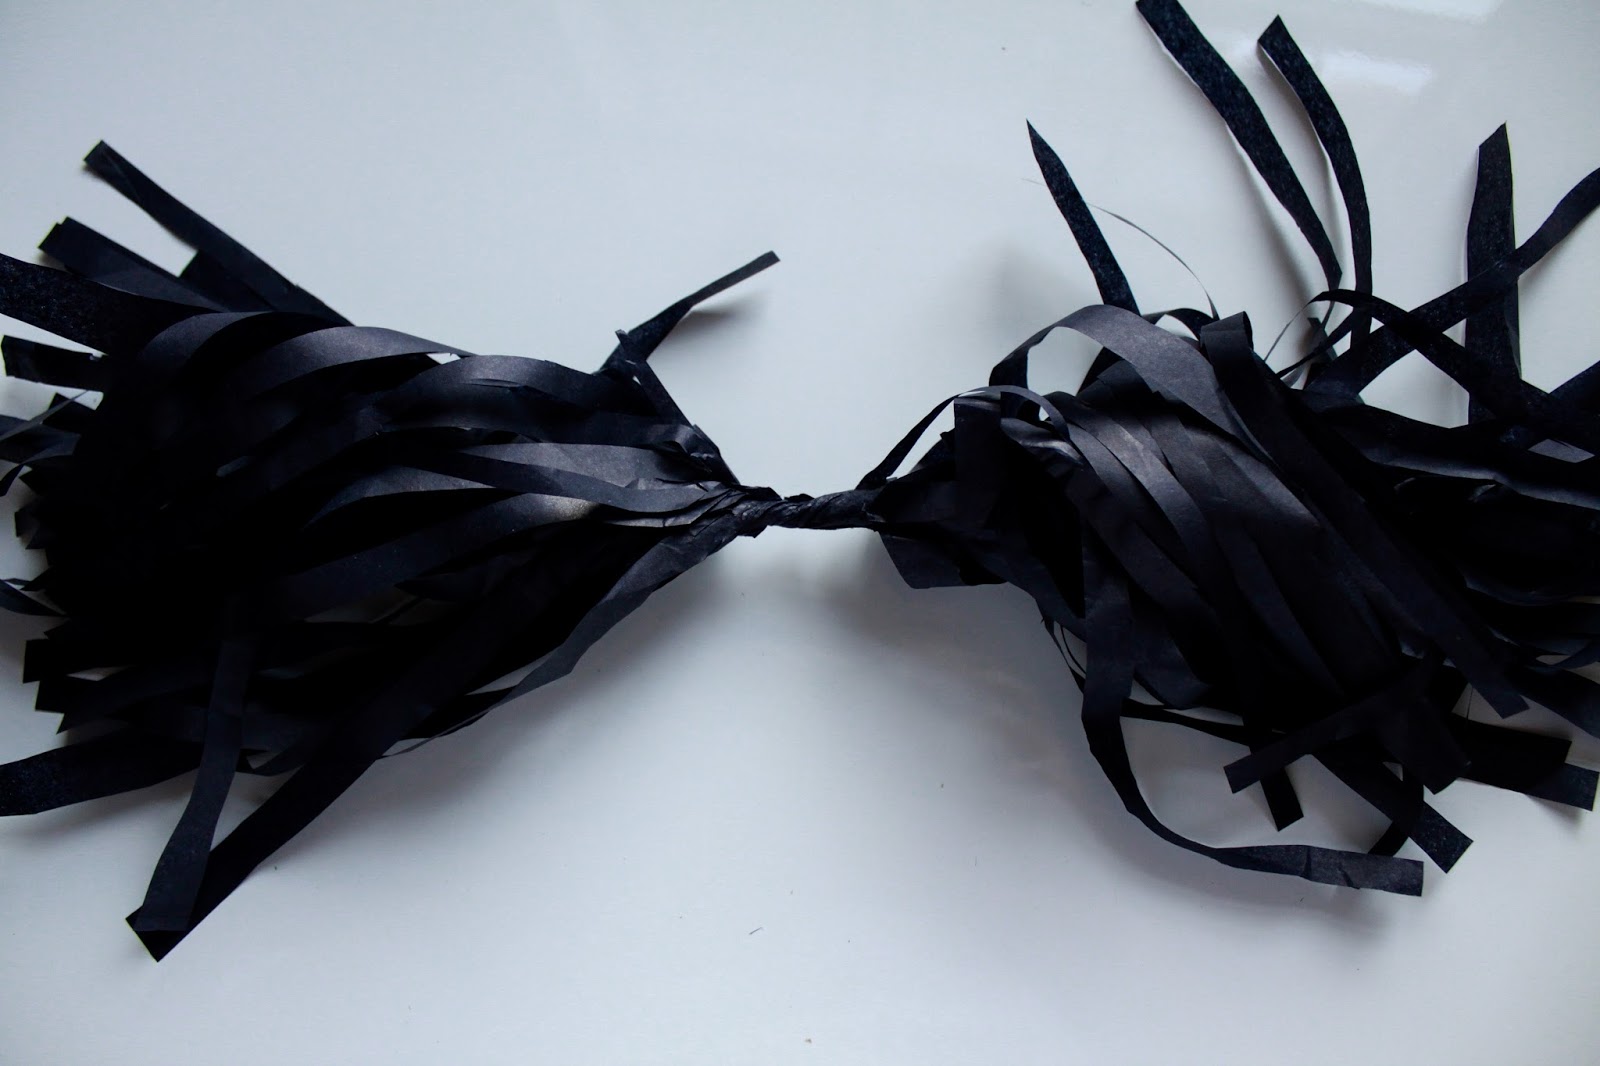
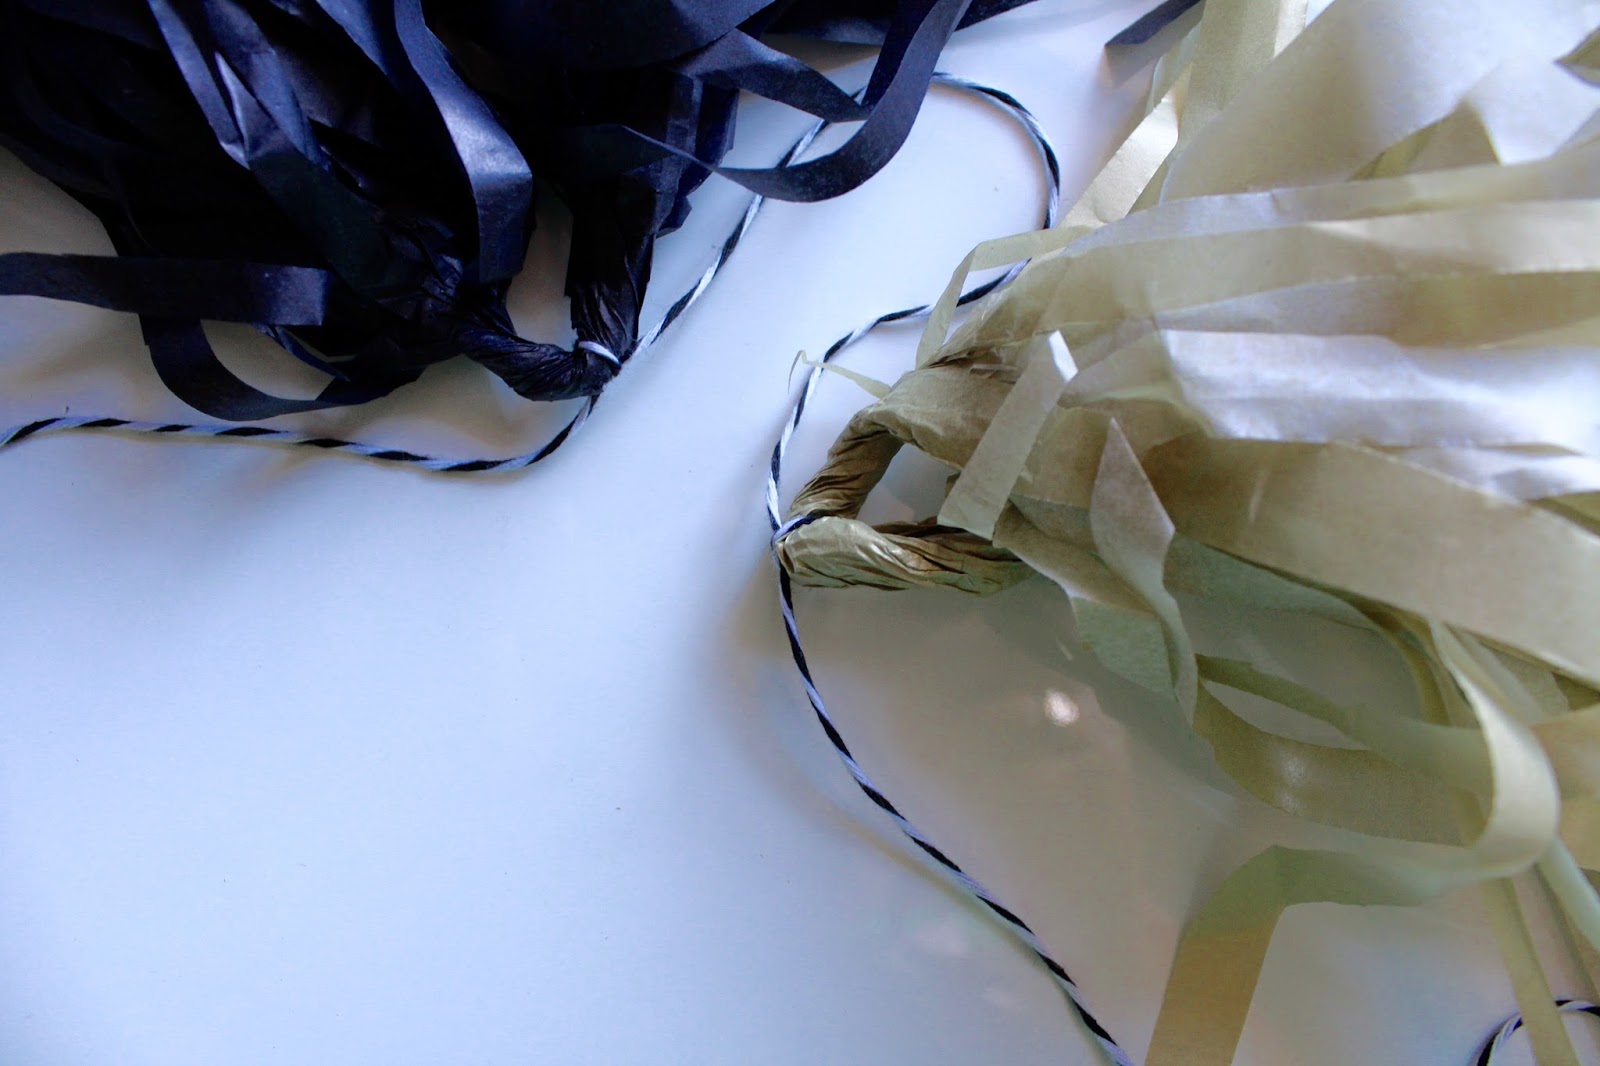
Once you are finished rolling each piece, you will tie your twine or rope on to tissue paper. Once tied, twist the twisted part of the tissue paper together to form one junction around the rope. Pictured below
Once you have the tassels secured to the rope, hand and enjoy! You can always add more tassels or other cute little trinkets!


24 comments
I did this recently and I have to say, it's so much easier than I thought. Such a great way to add color and decor!
xo
Sara Kate Styling
This is such a cute DIY! I'll definitely have to remember this when I need to fill up some wall space!
-Anna | http://www.fivefootandfabulous.com
This is SUCH a cute idea! I love the tassel garland and want to make this for my office. Xoxo Mindy
I was thinking about buying one online but now I totally need to make my own! Much more cost friendly.
xoxo, Jenny
Yes! I saw some online that were super expensive and I knew I could figure it out on my own! Way more cost effective this way.
That's exactly where mine is! It's the perfect place to add a little flare!
Such a cute DIY! I've actually made a few of these for my apartment, they're so easy and cute! Love the colors you used! (:
xoxo
Amy | Pastel N Pink
You literally read my mind – I've been wanting to make one of these for a while! I think online they are way overpriced, and it's totally better to DIY! Love having crafty friends to steer me in the right direction 🙂 Looks great, girl!
X,
Cristina
cristinawashere.com
So cute and really easy! I was going to buy a tassel strand for my desk at work but maybe I'll make one now instead — it's a fraction of the cost of already premade options!
Kayla || Keynotes from Kay
This is such a cute idea! I never knew it was this easy to make!
Southern Soul
Handmade decorations are the best. Love these!
This looks so much more simple than I thought it would be..I am definitely making this for my friends graduation party in May! Thanks for the tutorial.
xoxo,
Danielle
http://www.glamrme.com
This came out so well!!! I'm so pinning this post!
xoxo A
http://www.southernbelleintraining.com
What a fun DIY project! Love it!
They're so perfect for grad parties! I was so close to buying a really expensive one, but I just knew they couldn't be THAT hard to make! Good luck, I can't wait to see what colors you use!
Thanks Annaliese, it was so much fun to make. I could totally see myself having a few girlfriends over with some wine and making these!
You totally should! I'm planning on making a mini one for my cork board! Good luck!
I looove tassel garlands! They are my favorite thing ever! I make them occasionally!
Nicole // Chronicling Home
This is cute! I'm so not a DIYer but I think I could handle this!
LiveLifeWell,
Allison
Hi everyone, it’s my first pay a quick visit at this web page, and article is truly fruitful in favor of me, keep up posting these articles.
I was excited to discover this great site. I wanted to
thank you for your time just for this fantastic read!! I definitely savored every
bit of it and i also have you saved to fav to see new things in your site.
We’re a group of volunteers and starting a new scheme in our community.
Your website offered us with valuable information to work on. You have done a formidable job
and our entire community will be thankful to you.
Thanks a bunch for sharing this with all folks you really know what you are speaking
about! Bookmarked. Kindly additionally discuss with my site =).
We may have a link change agreement between us
Valuable information. Lucky me I found your site by
chance, and I’m stunned why this accident did not happened in advance!
I bookmarked it.